During the character design I started on blocking out my character I used the first design’s body as I liked these proportions and I felt they were fitting to what I want her to look like. I went through quite a few designs with different proportions but this is the one I wanted to work with as I could add some muscle and build up the physique better with this base.
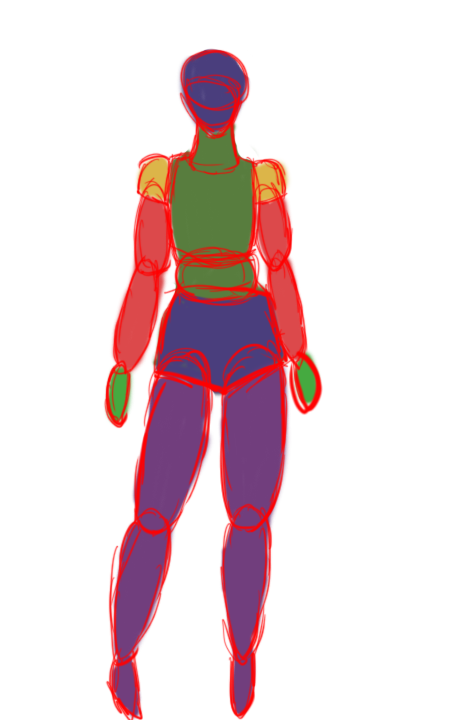
I used this block out so I could get the right shapes for the body. I used different colours to show different parts and make it easier for when I create the block out in Zbrush.
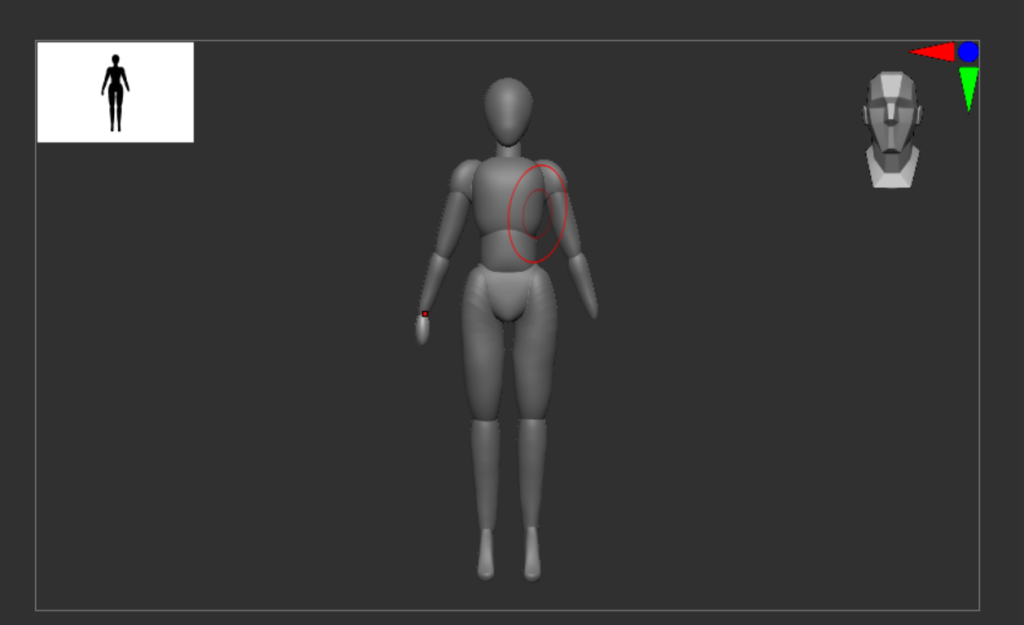
Starting in Zbrush I added mostly spheres and kept them all seperate in the subtools and merge them later on, using the W key to change size, place and rotation of the shapes to fit onto the body. I also used the move tool to get the right proportions especially on the face and the waist.
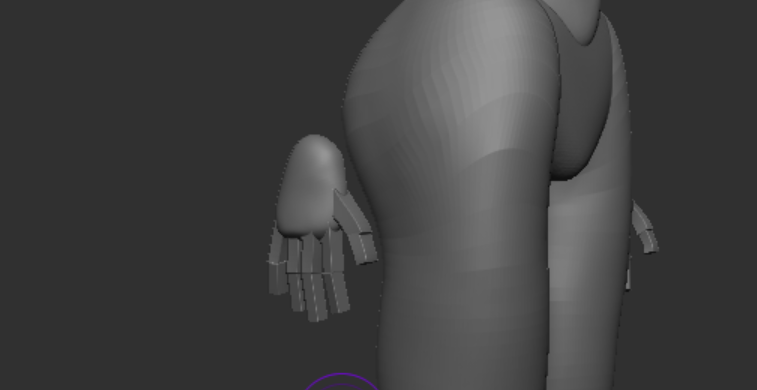
The hands were particularly hard as there was a lot of shapes to add and I did make a mistake the first time doing it which was forgetting to split the copy and pasted fingers (I used Ctrl + move to do this) which led me to redo the hands as this led to issues when Dynameshing.
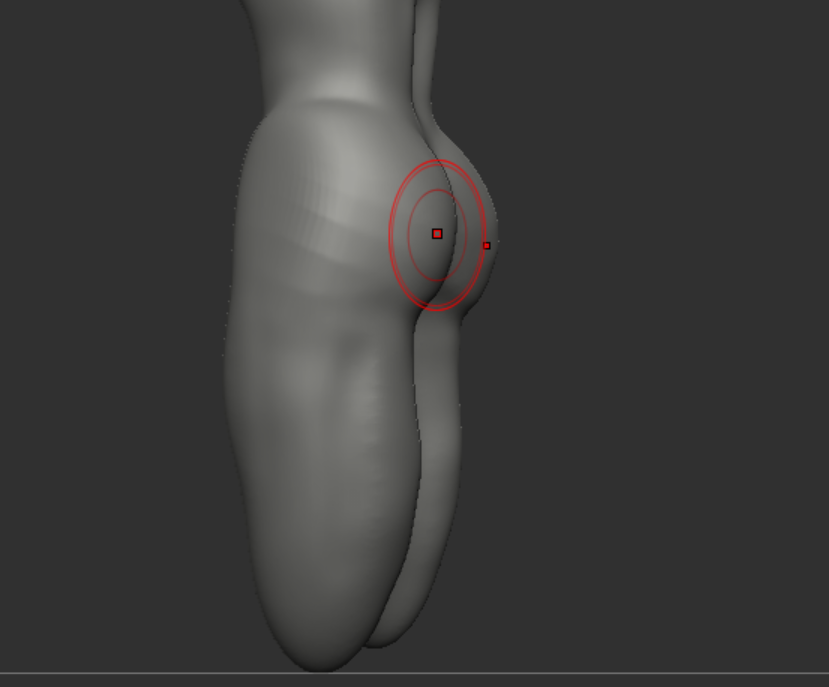
One thing I made sure was to make the upper thigh longer so it would be easier to connect and it would be easier to shape out the muscles on the back.
The brushes I used
The more I used Zbrush the more confident I felt with the shortcuts and brushes, I will run down what I used the most and why.
- Move, scale and rotate (W, E, R shortcut) – I used these to scale up and down shapes I add in and to duplicate another shape, this masks the other shape which you can split or merge with another layer.
- Symmetry (X shortcut) – I used this to get most of my beginning shaping and changing accurate so I wouldnt have to do the same thing over again.
- Move Brush (BMV shortcut) – I used this tool the most as it was fluid and helped to get a shape into position the easiest, I use it to change the silhouette especially at the beginning.
- Clay Build brush (BCB shortcut) – I also used this tool a lot especially to build up areas and sculpt in detail, ading in muscle to the base.
- Smooth (Shift shortcut) – this was used along with the clay brush as it got rid of the harsh lines from the build up and evened it all out.
- Standard Brush (BST Shortcut) – I used this brush to add smaller details, this built up areas like the clay build tool but it was softer and more accurate.
- Dam Standard (BDS Shortcut) – I mostly used this for specific crates like the eye sockets as I found it was easier to use alt on the clay build up or standard to create this effect (Alt reverses the effect).
- Space – By pressing space it gave you the options to change brush size, sensitivity ect. The menu gives you plenty of options to change the brush settings.
I used more later down the line at different stages of the process, so I will explain those when needed but these were the ones I used at this stage of the process.
Sculpting the Body
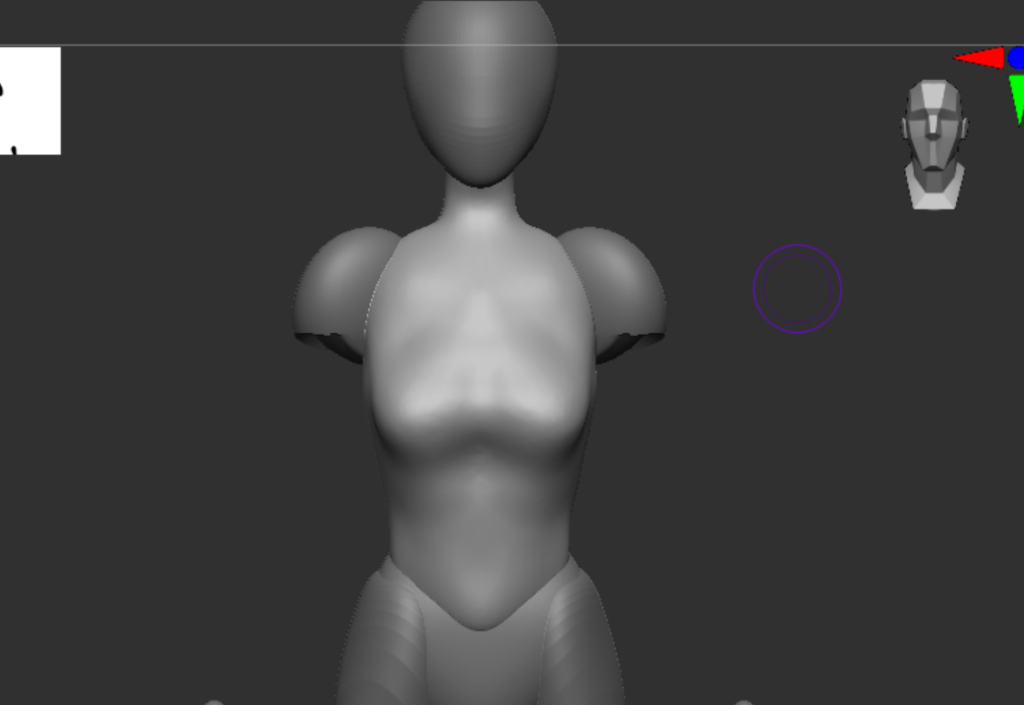
I started with all of the shapes separated so I could merge parts one by one to build up a body shape I kept a few references to keep going back to to see if it looked natural. When merging I would Dynamesh to fix the gap between the edges where the shapes joined together and smooth them out.
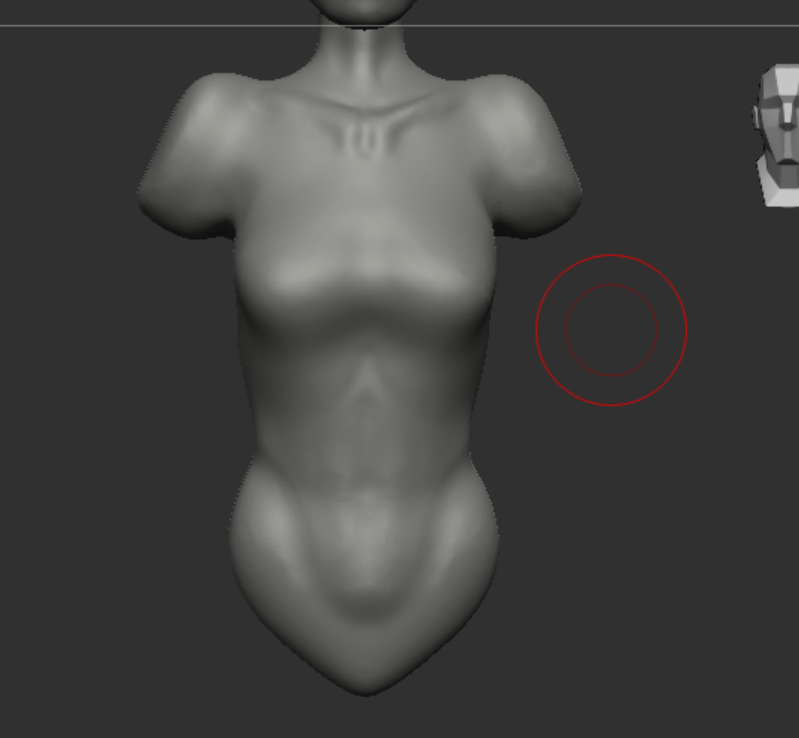
After looking back on parts like these I realised that I didn’t need to add this much detail to these areas of the body as the clothing ended up covering it especially on the leg and torso area.
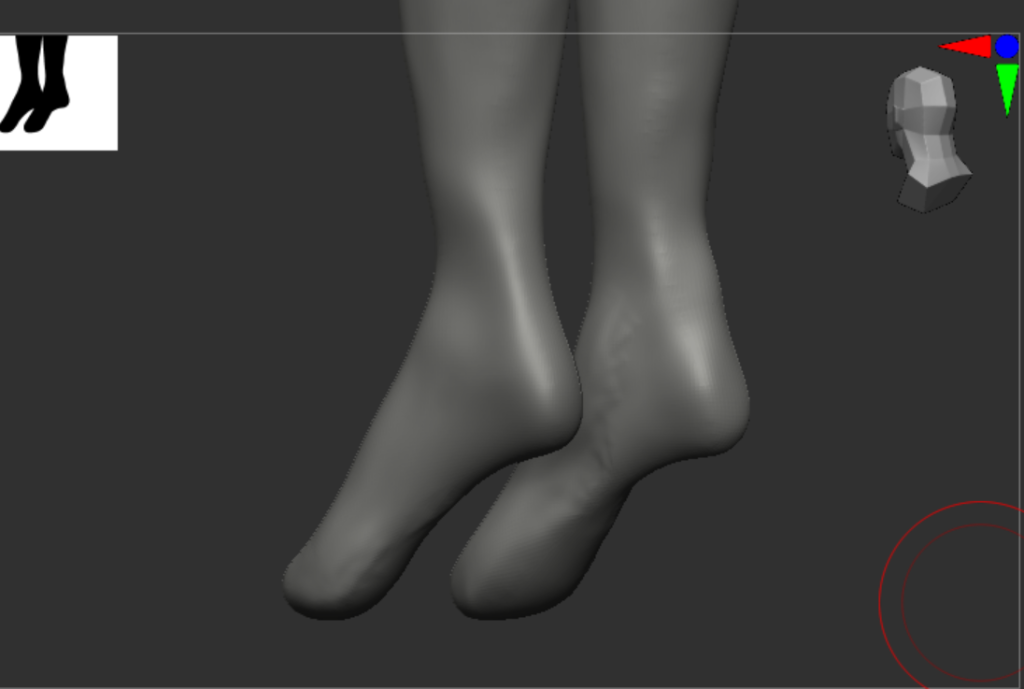
I kept a lack of detail especially on parts where I knew there was going to be clothing covering the areas for example the feet which I just did the basic feet shapes and kept them pointed down as I knew that she was going to be wearing heels.
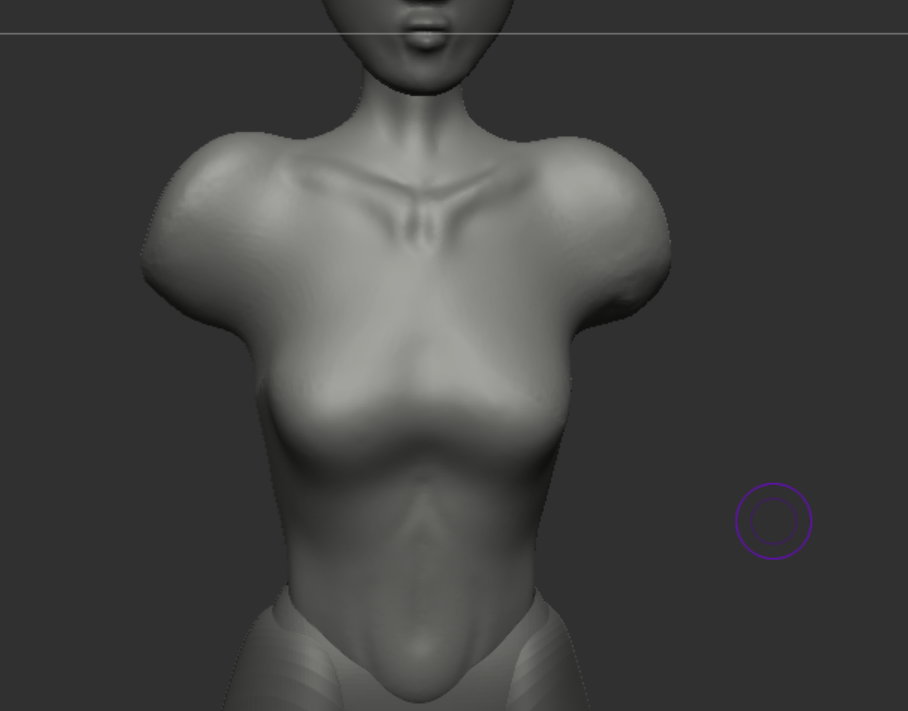
Building muscle
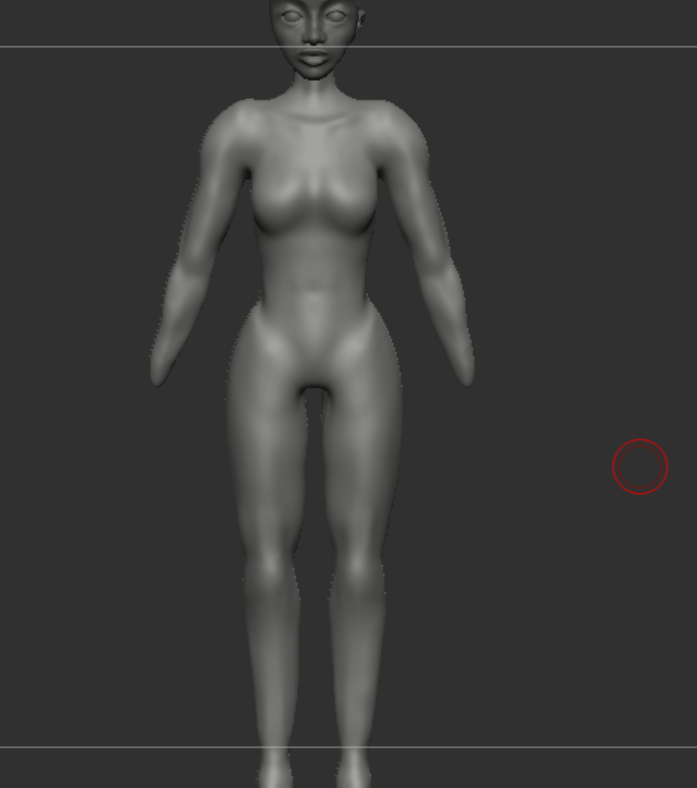
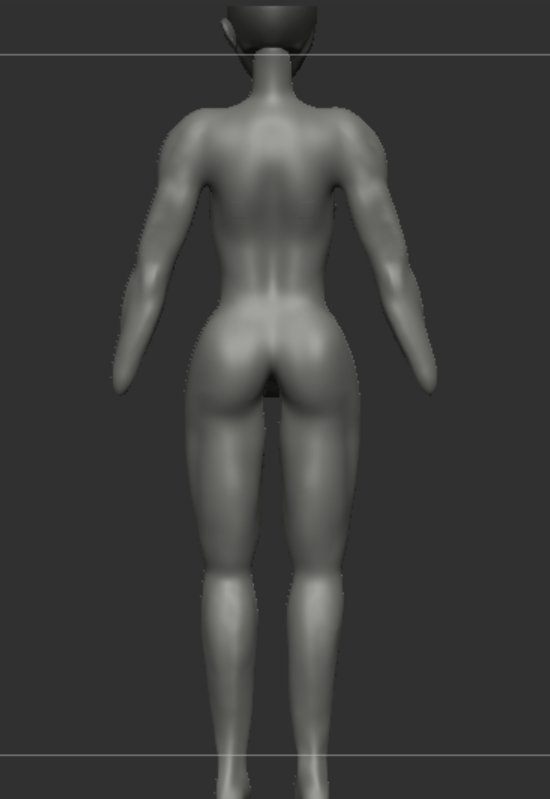
As I knew that the arms would be showing I decided to focus building muscle on the top area of the characters body, this is a simple detail to give a hint into showing the trained spy like character I want her to be. I also focused on using muslce anatomy references, I used the clay build up brush to build up certain areas and smoothing them out.
The hands
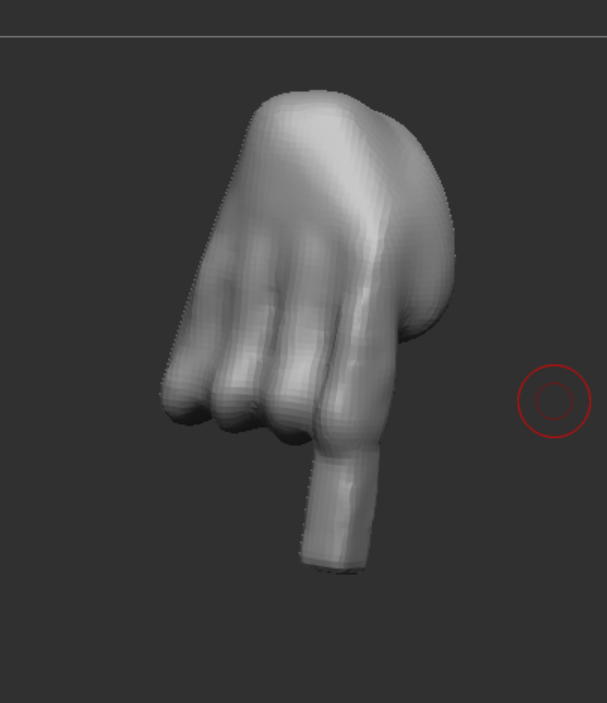
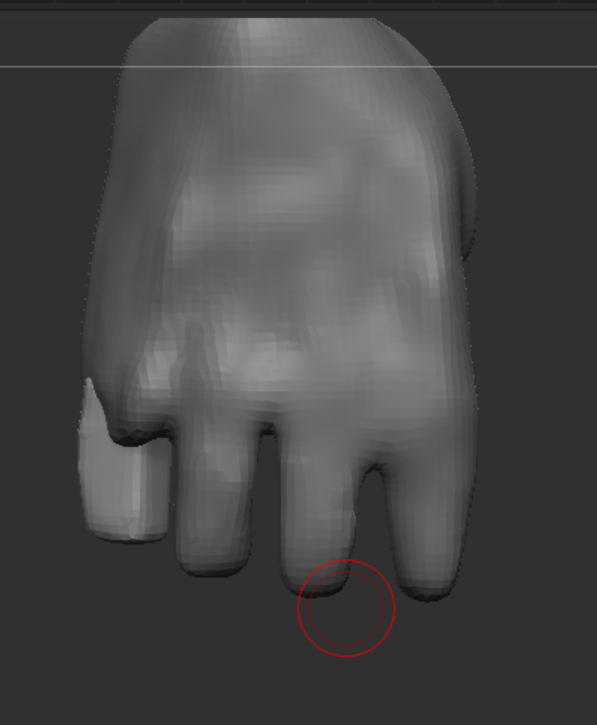
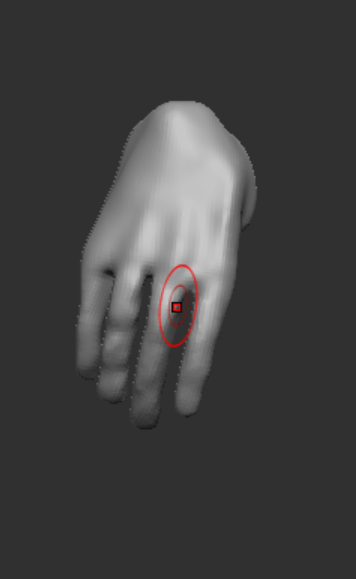
I did this carefully as when merging I could accidentally join two fingers together when Dynameshing.
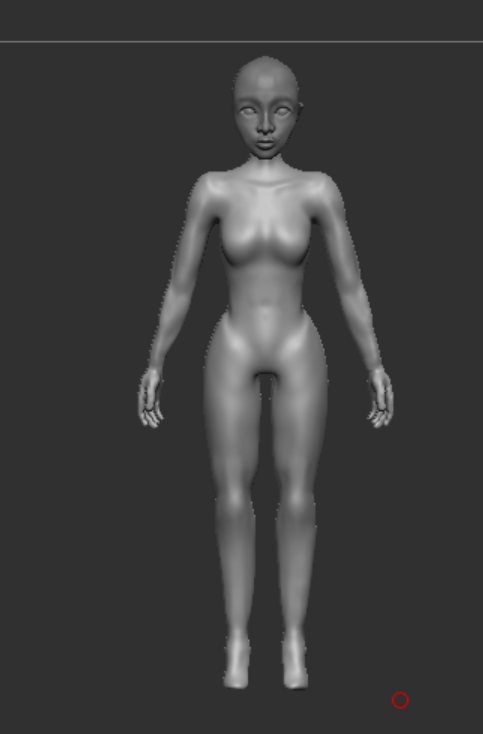
I did go back to edit this later on as I felt like it wasn’t how I wanted it to look, the fingers were lumpy and very thick at the ends. I also noticed that the hands felt very comically large which I did keep that for a stylisation but I didn’t want to change it too much and end up having to start all over again as this is something I struggled with quite a lot even using plenty of references I still found it challenging to execute.
The Face
To start off I used a sphere and moved it about to get a rough head shape, using the clay build up and dam standard I used this to carve out where I was going to add the eyes, nose and mouth.
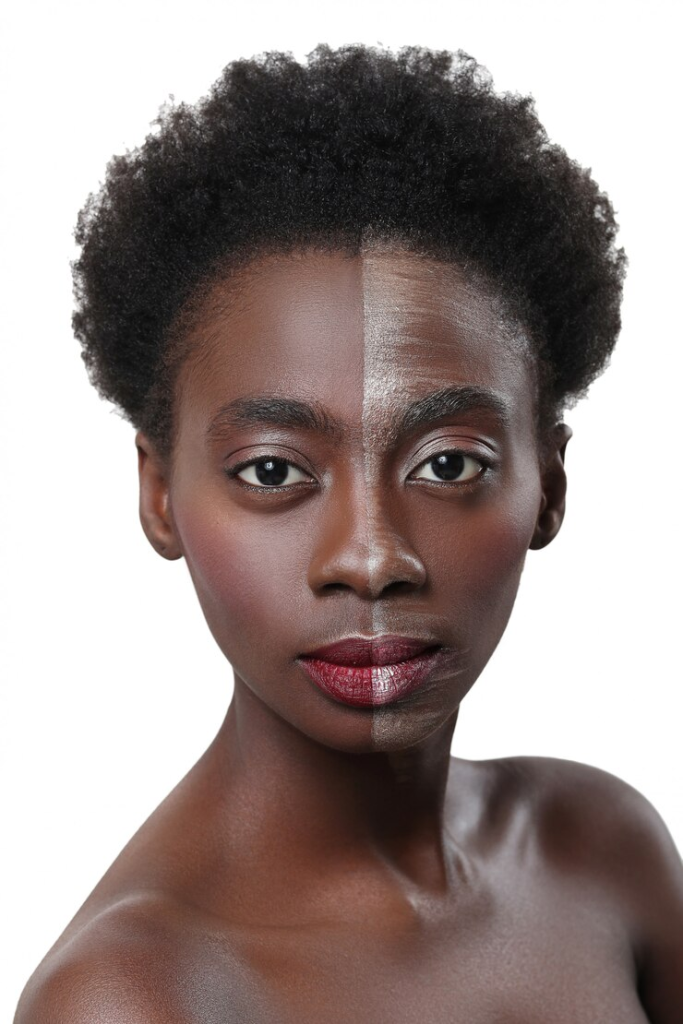
I used this picture as a reference to help me with sculpting the features, I felt this person was the most accurate to how I pictures my character to look.
Racool_studio (2020)
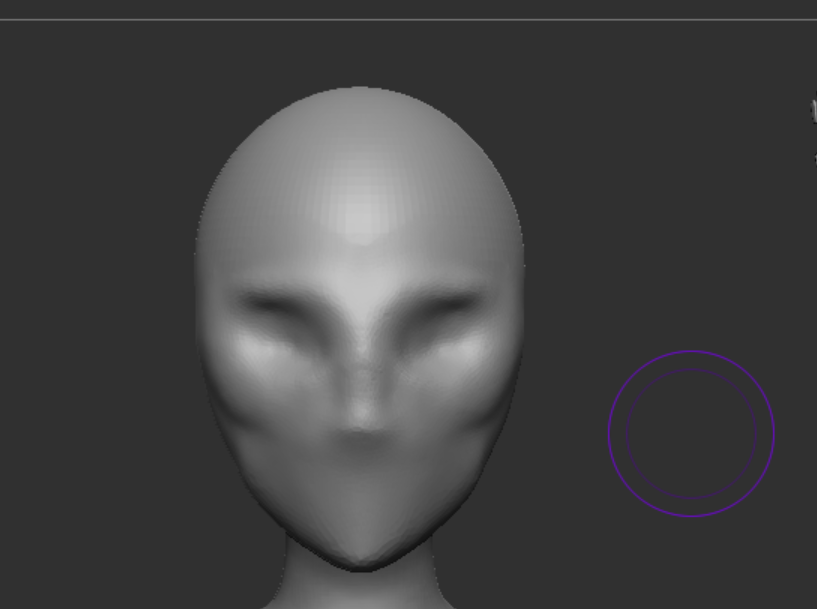
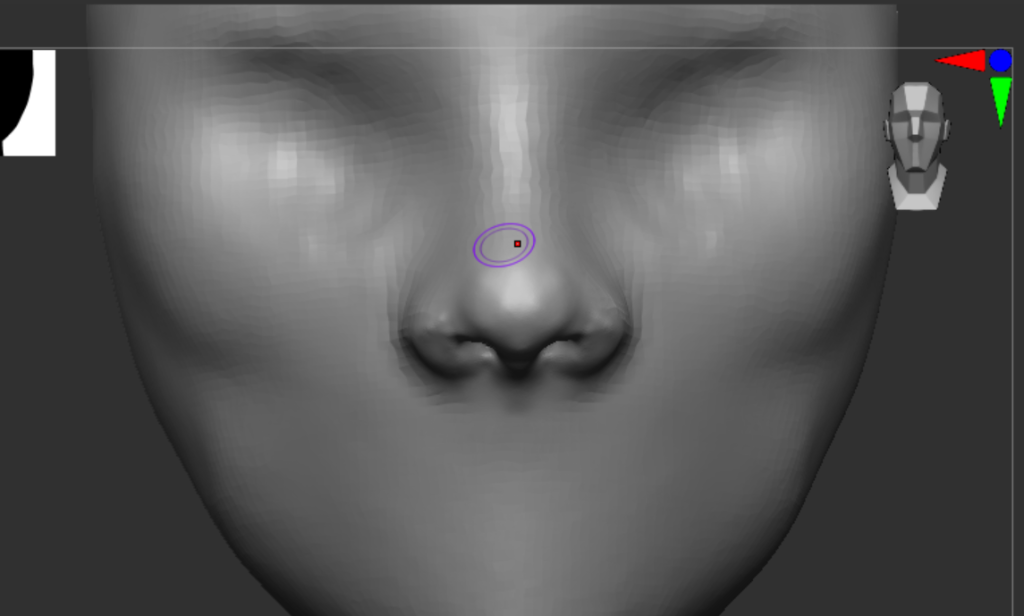
The face looked a little awkward at first but I exaggerated the features I wanted to be the most prominent so that I could tone it down near the end, it was a very hard process to trust but I knew that I just needed to add the rest of the features and it would be fine. I focused mainly on the nose as this is one of the features to be the most prominent and it was also one that I found easier than the rest of the face. I mostly used the clay build up at first with smooth but switched to the standard to focus on creating more detail.
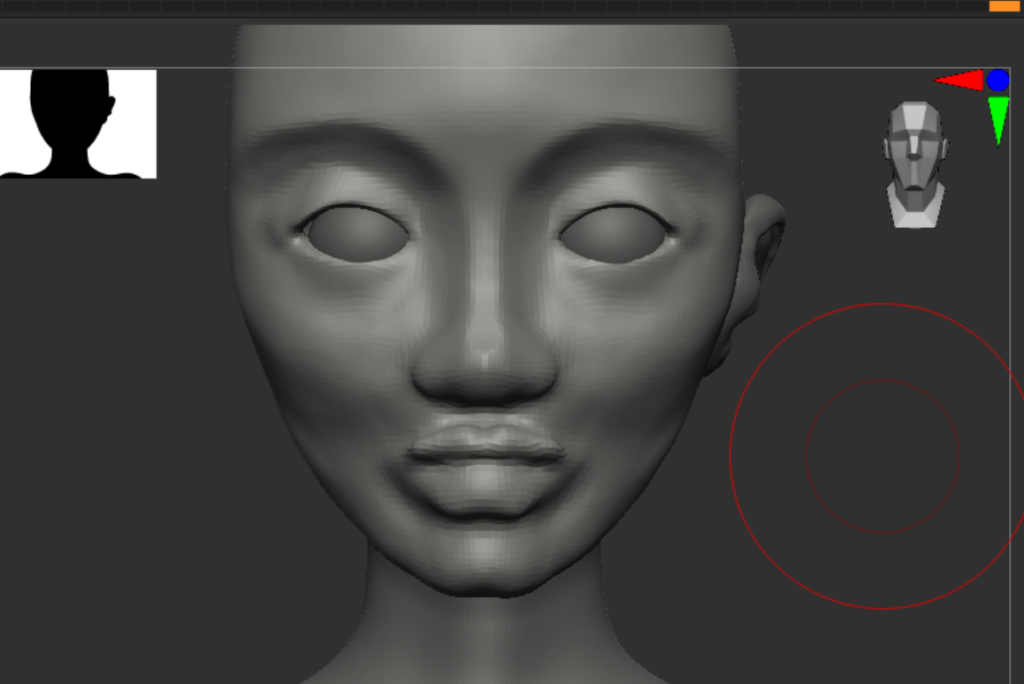
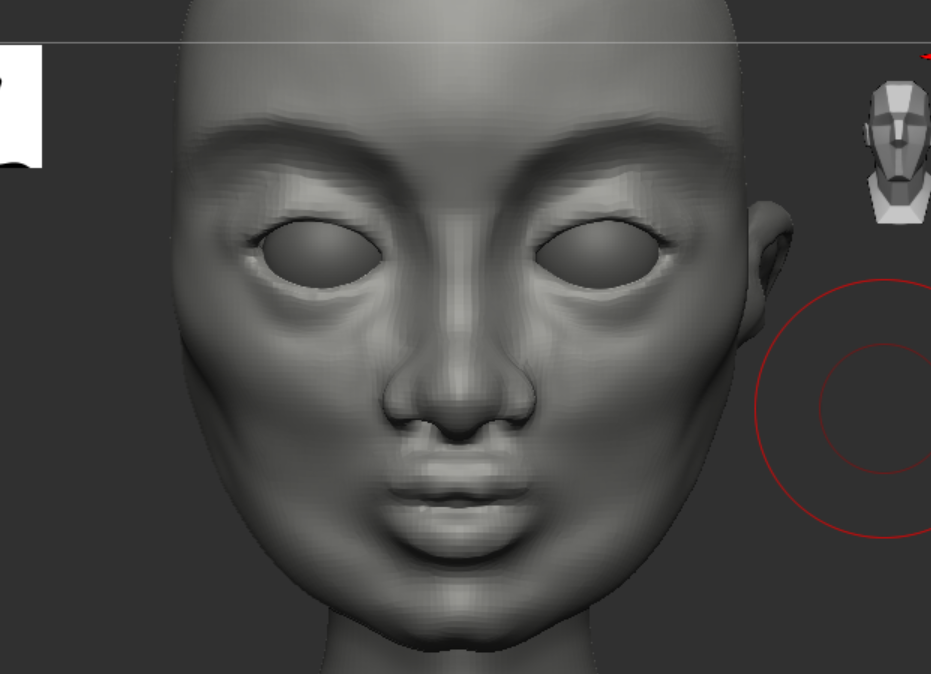
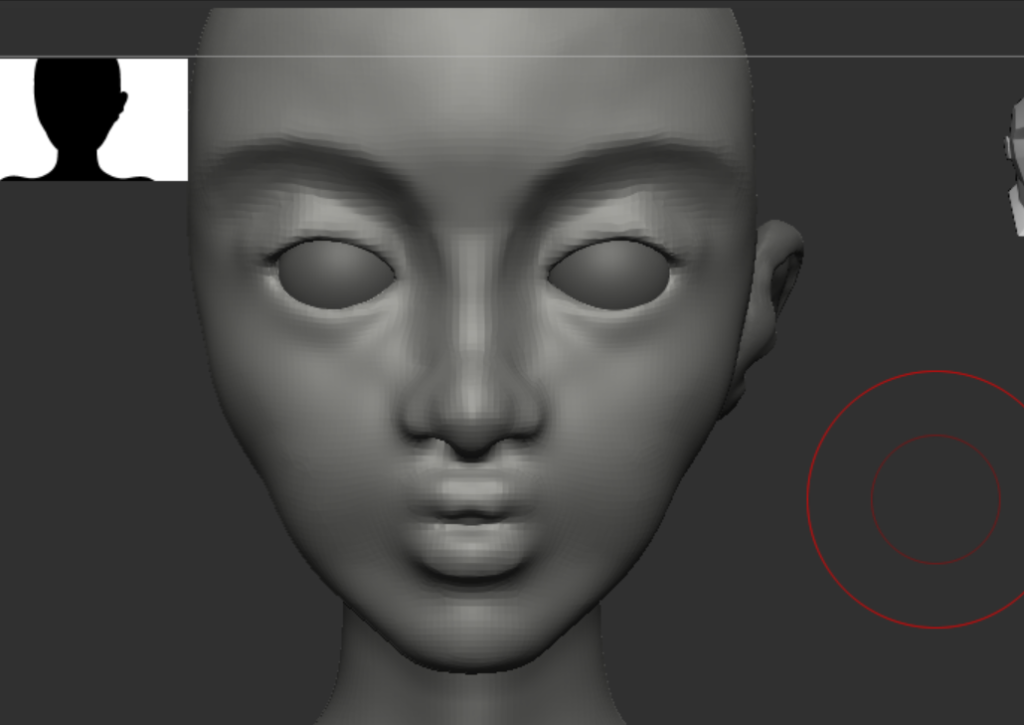

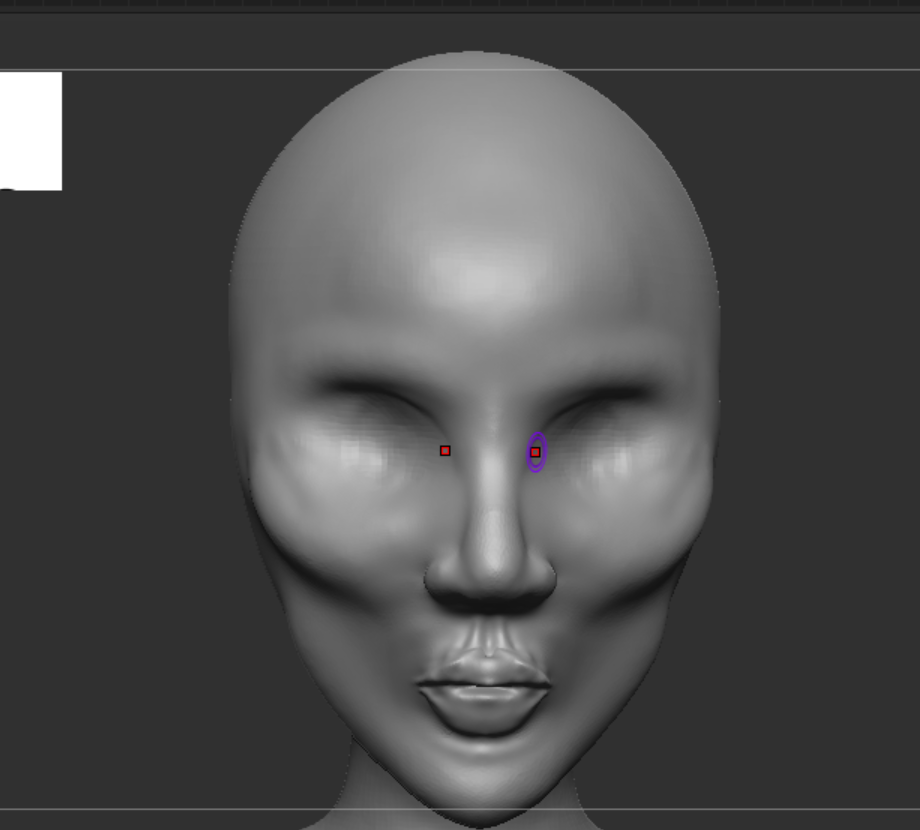
As you see I struggled to get the right face shape as I kept ending up with a wide square shape but I wanted a diamond and pointy appearance, this is because I kept adding too much to the cheekbones and adjusting parts that didn’t look right without checking all around, this is the only part of the body I found this issue with however I ended up with something I liked and moved on to the next steps as I could always go back to it later.
References
Racool_studio (2020) Free photo: Black woman with half face on makeup, beauty concept, Freepik. Available at: https://www.freepik.com/free-photo/black-woman-with-half-face-makeup-beauty-concept_7136071.htm (Accessed: 15 December 2024).
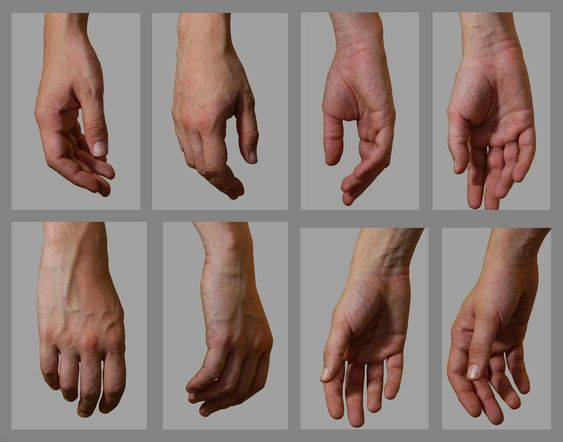
Relaxed hands: Hand reference, Pose reference, hand drawing reference (2019) Pinterest. Available at: https://www.pinterest.co.uk/pin/381187555961266298/ (Accessed: 15 December 2024).
Leave a Reply