Before sending my character over to Maya I had to decrease the number of points my model had, keeping a lot of layers seperate so I could Retopologise easier I Zremeshed smaller objects such as the eyelashes and acessories so that I wouldnt have to retopologise them as it would be too tedious to do. I had to take the point level down to under 500k so that Maya would be able to handle it, I used “Decimate” to turn the topology into lots of little triangles so that it would have less points but not loose too much detail on the model. I used default settings and managed to decimate from over 1 million to 200k points which meant I was able to keep a lot of detail but tone it down enough.
The next step was to export it using the export, which I used the FBX export to transfer the file to maya, I made sure to keep a backup of the model before decimating so I could go back in and add detail later on.
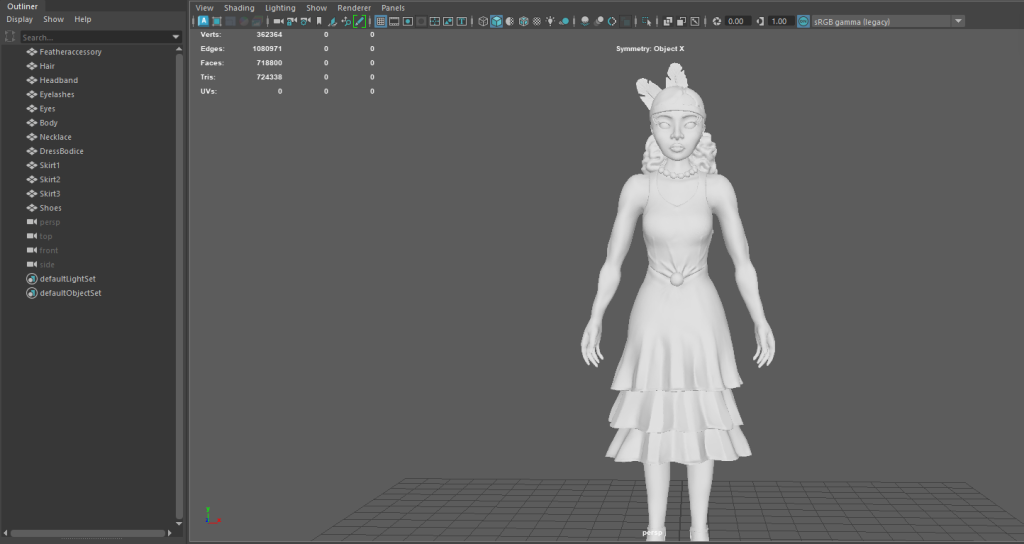
First thing I did when I opened it up in maya was change the names of the parts which are seperated, This is so when I retopologise I could keep track of which object I am on and which is the original layer and which is the topology layer.
Retopology
I will keep screenshots to a minimum as it was a very long and boring process, there was also a lot of trial and error with the topology as I was figuring out what was good topology and what wasnt, I didnt want to end up with any issues down the line so I took my time.
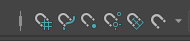
To start the topology I selected the layer I wanted to retopologise and use the last magnet icon at the top to make the object live so the squares I draw stick to the model.
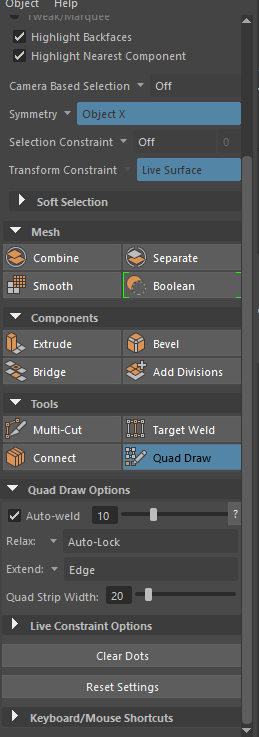
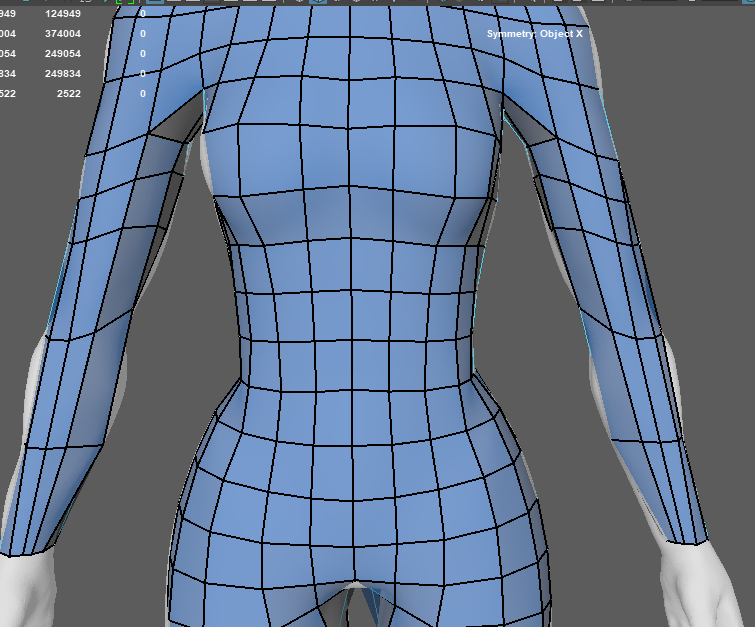
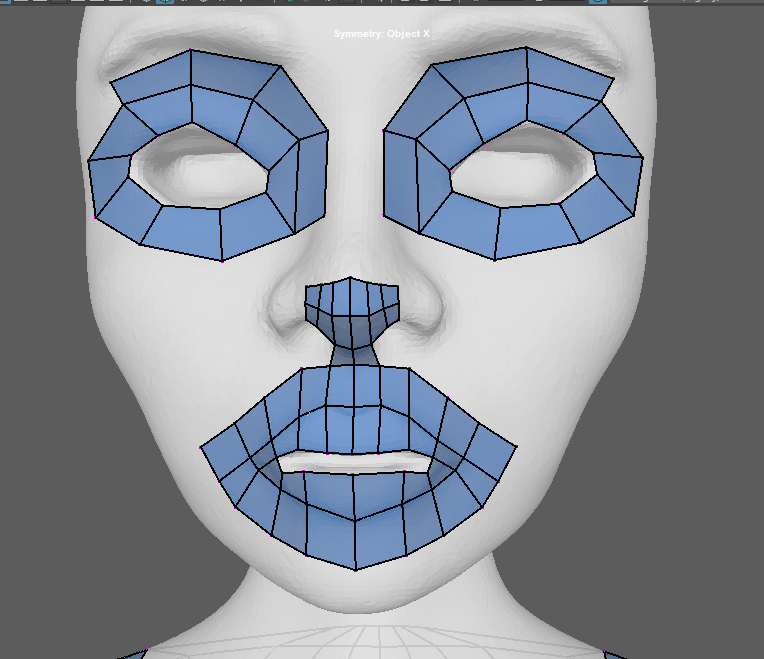
The next thing I did was use Quad draw, I kept the settings the same but I used symmetry on most of the model, excluding parts that werent symmetrical.
To start a new layer you have to start a square which will give you the layer, I renamed mine everytime so I would be able to know which is which.
A couple of tools I used throughout:
- Relax (Shift key) This relaxes the topology to the model to get a more accurate and even topology.
- B key, this enlarges or decreases the brush size for selection.
- Tab key, to extrude a point or side, this made the topology faster but also had a few complications the mode detail there was.
- Ctrl and click, added more sides.
- Ctrl and shift, deleted lines, shapes and points.

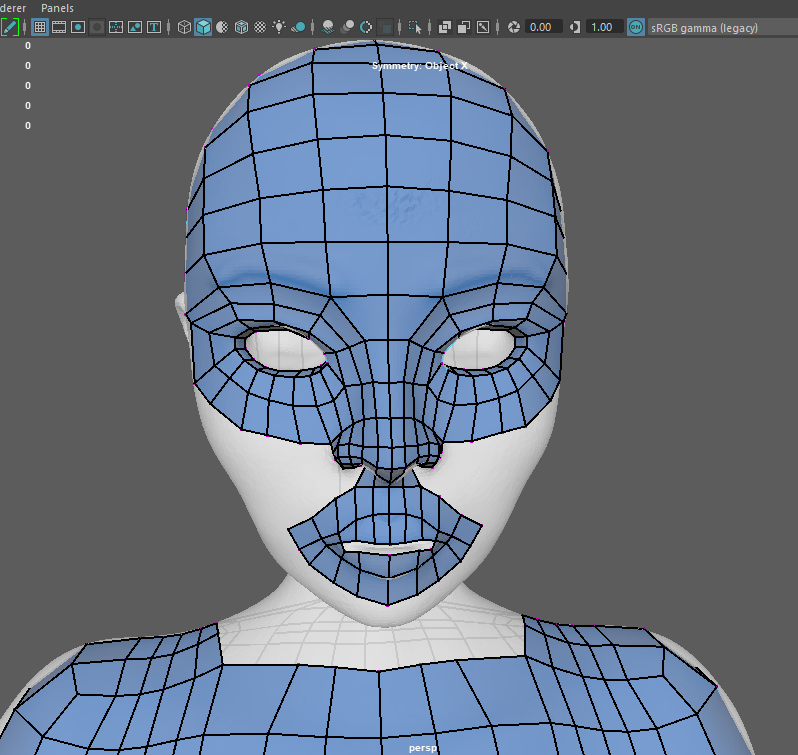
The idea was to start off simple and add more detail as I go along, this gets the basic shapes out of the way as it is easier to add shapes rather than take them away.
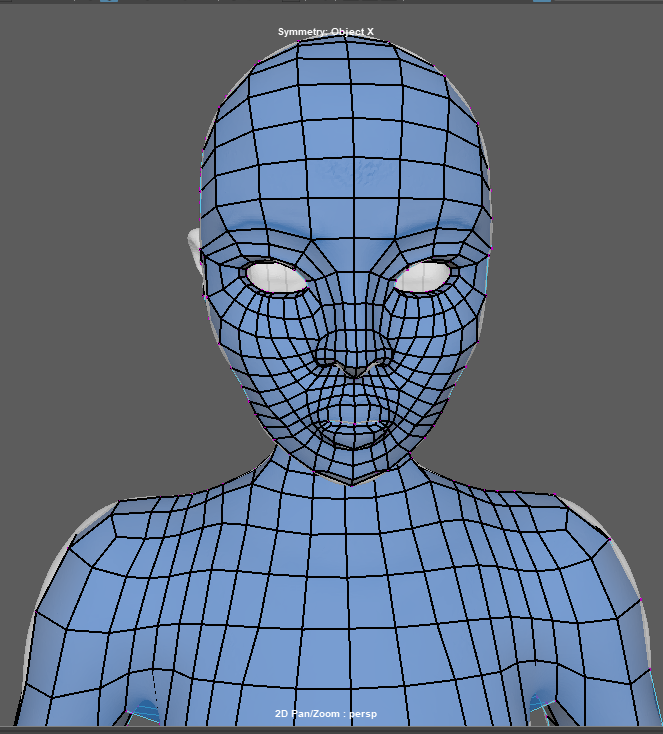
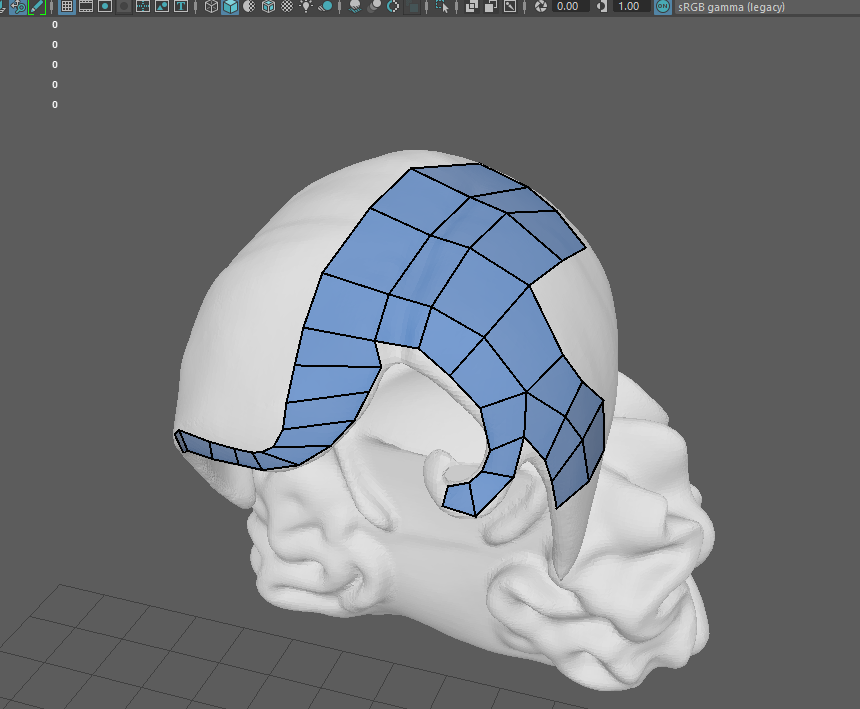
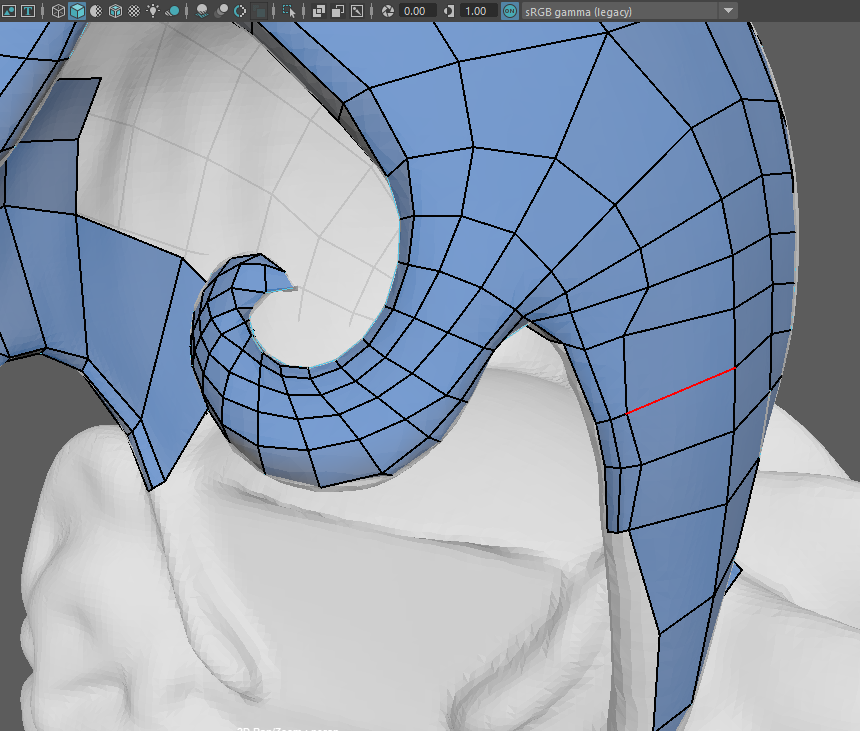
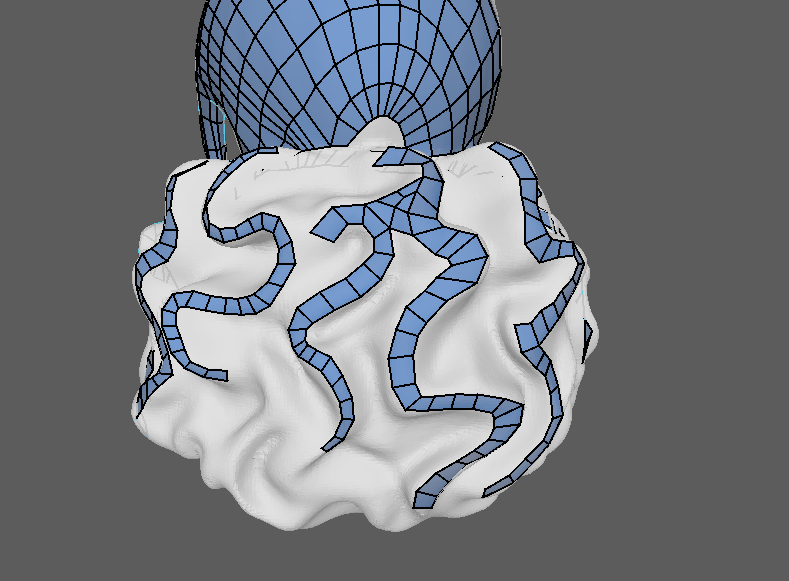
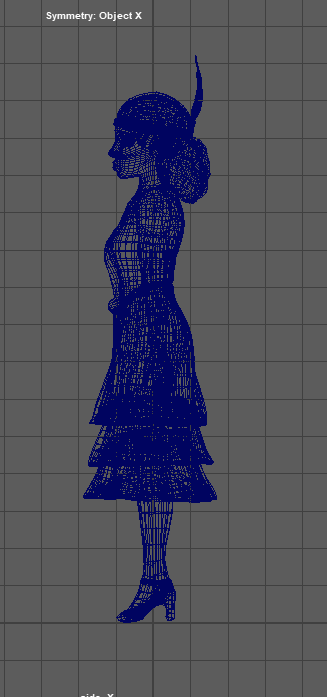
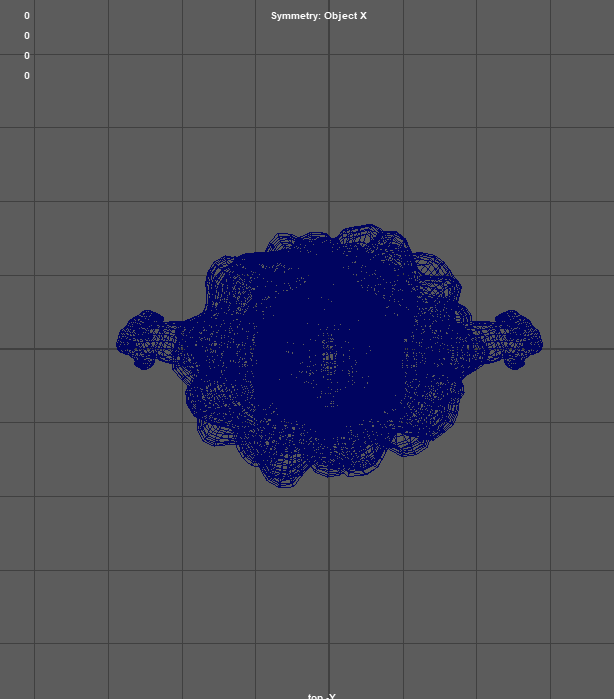
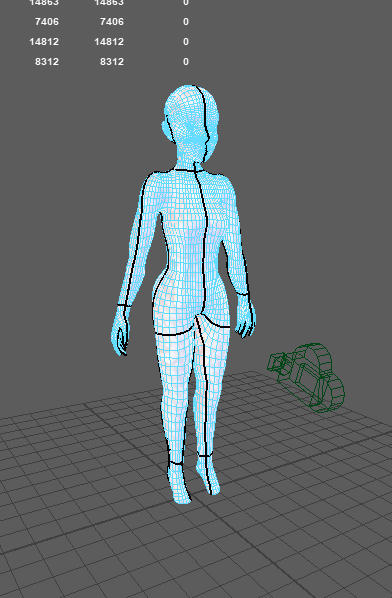
A couple of difficult shapes was the shoes and the feather accessory as the shape was quite small and hard to get the detail to show. The body was fairly simple as I could keep most of the topology in the same direction it was fairly different for others like the hair which I will show below.
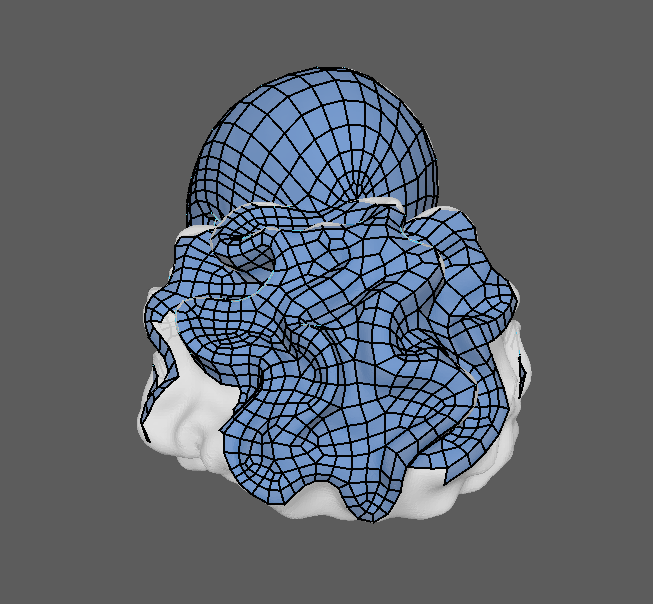
A couple of issues I faced with the topology was not being able to join parts together, I ended up figuring out how t keep it even throughout when I got to the skirt but especially with the body I found it hard to join parts of the body like the hands to the arms as I had a lot more sides on the hands compared to the arms.
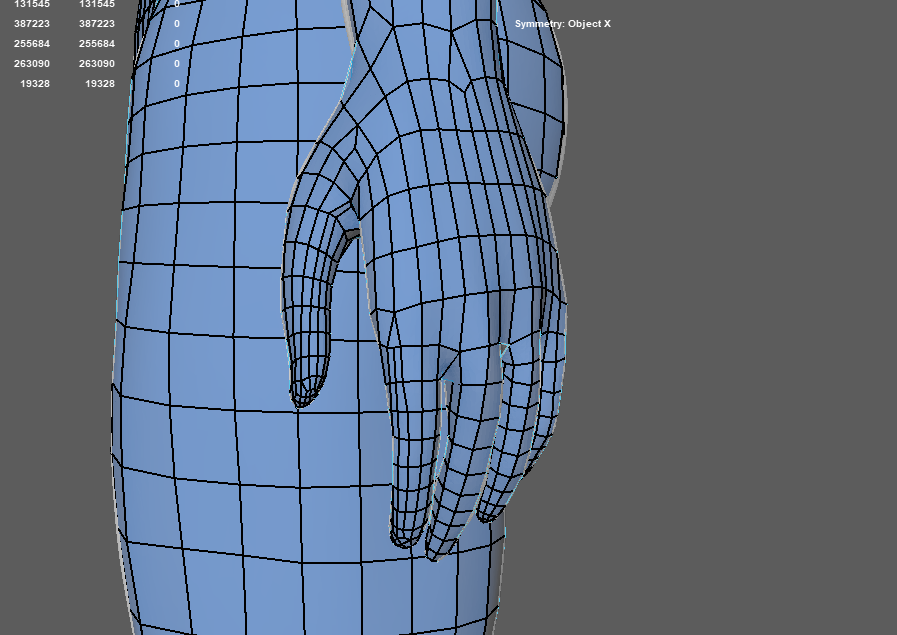
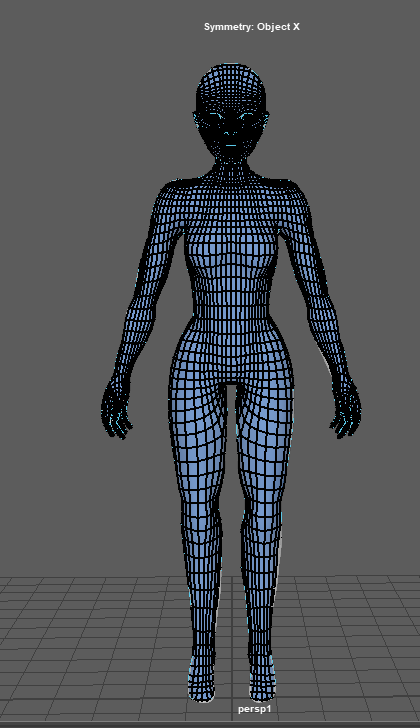
Here is what I ended up with and the decimated model side by side, it isnt perfect but it should be okay for now.

UV’s and exporting
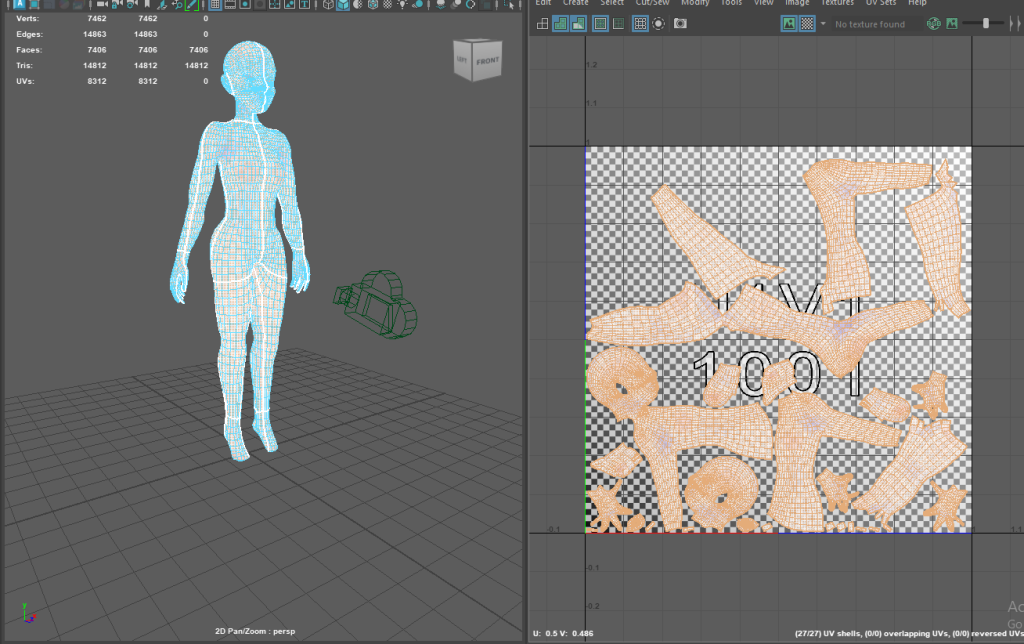
The next step was to unwrap the UV’s, I tried to make it as clean as possible however, I really struggled with this so I didn’t spend too long on making it look better due to time restraints.
To do the UV’s I selected the object I wanted to unwrap and clicked on UV editor, I then pressed Ctrl + U to unwrap the object and then Ctrl + L to lay it out, I also needed to remember to change the Texel density to the same throughout and the map size to 4096.
This gave me something like this:
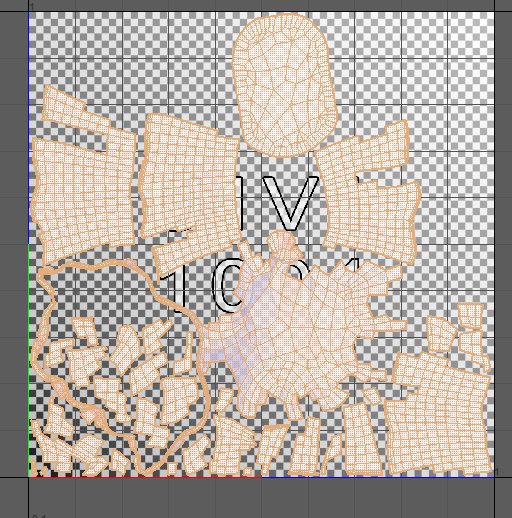
I did this throughout except for the body as I needed to use the cut and sew tool to break apart the model.
I got this up by selecting my object, using the UV workspace and using the 3D cut and sew tool I was able to bring up this.
To use the tool I click and drag to cut the UV’s, I had to make sure to do it in a way that the object would unfold neatly like clothing seams. I also used the Ctrl + click to sew any cuts I didn’t mean to make.
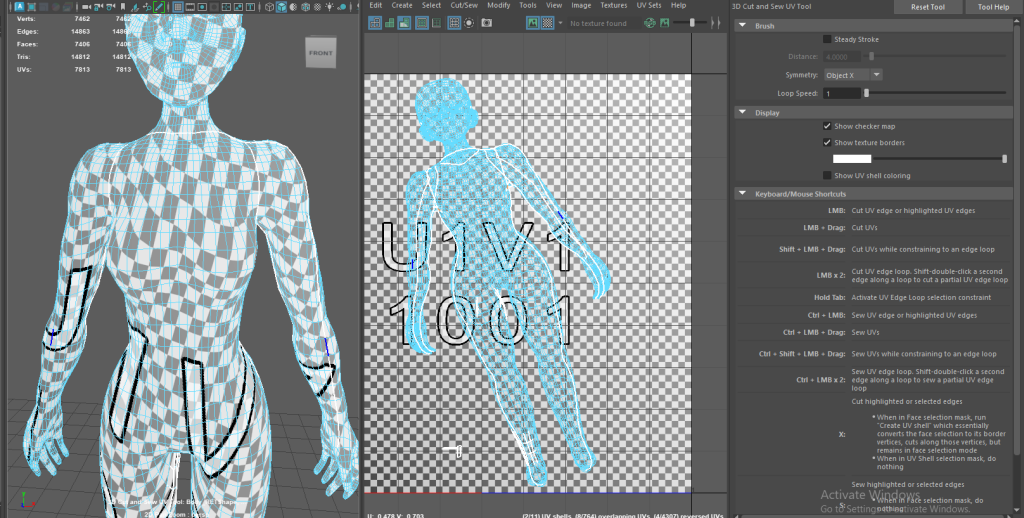
These are the seams I ended up with, after this I had to do the same as the rest of the UV’s by pressing Ctrl + U and then Ctrl + L to layout the model.
This is what I ended up with
The next step was to export, I did try merging my objects first before exporting but in Substance the UV’s ended up merged. After that I tried to export it as it is but coming across the same issue so what I ended up doing was adding a material to every object which kept them all separate when FBX exporting.
Leave a Reply