When adding the clothing and accessories I do use a few more tools that I explored with and found some interesting results. I chose to leave out the process of some parts I did as it was a repetitive process for most of it, but you will see it in the end model, this includes the necklace, eyelashes, ect.
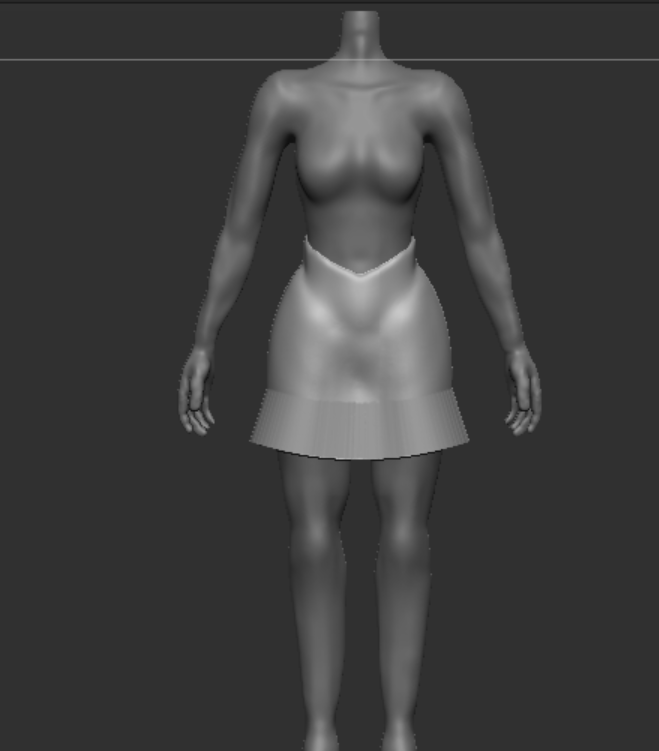
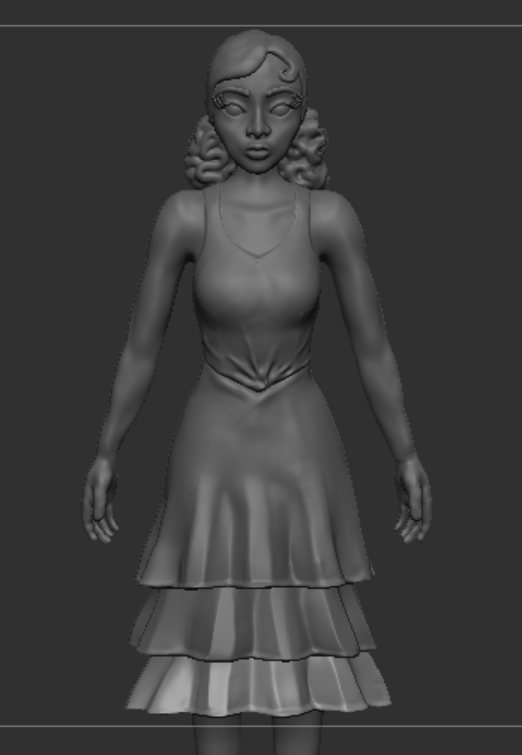
The Dress
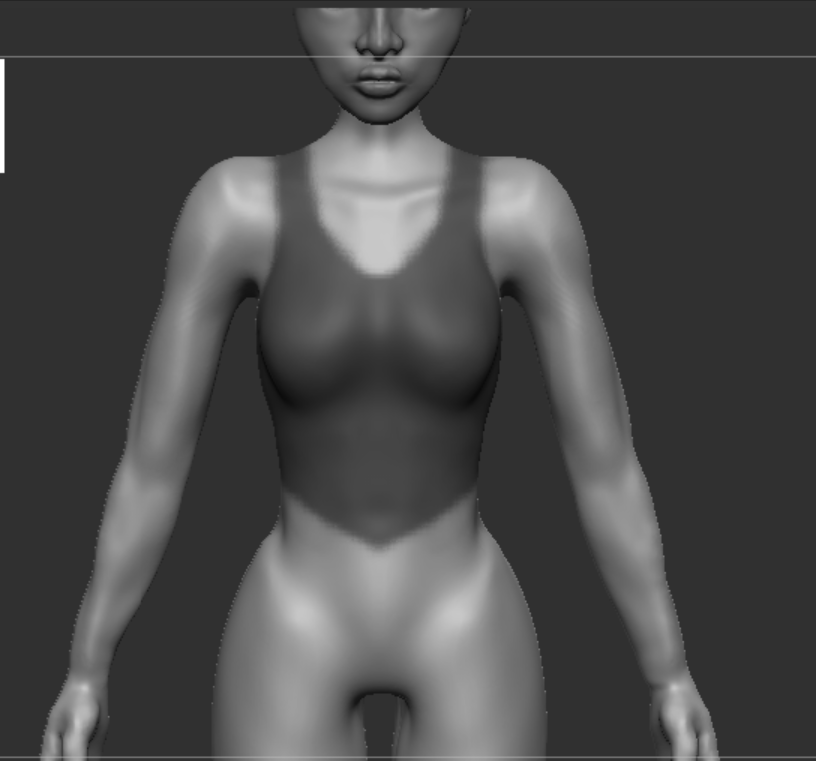
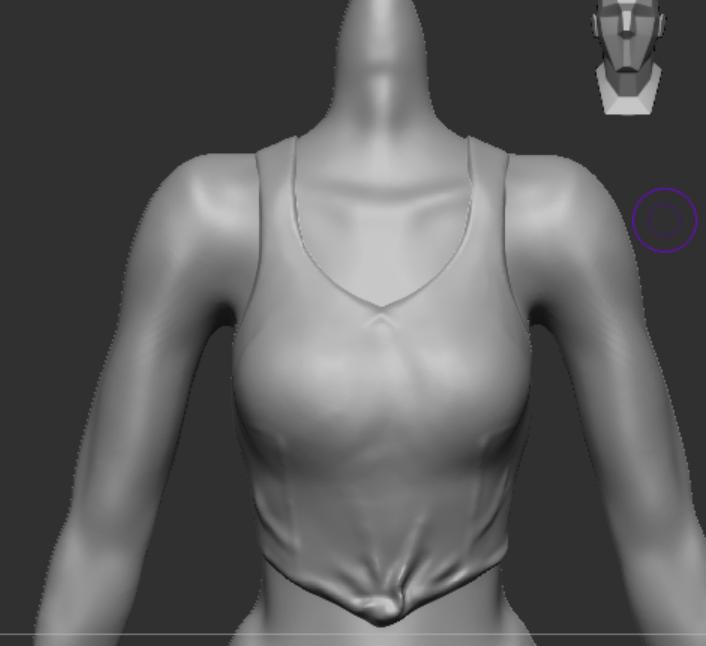
I started with the top half which is the skin tight part of the dress so this bit was easier than the skirt of the dress. I started by masking where I wanted it to be and using the Extract tool to create a separate mesh. I played around with this as the top kept coming out too thick so I ended up having no thickness and editing it using the deformation palette to do this.
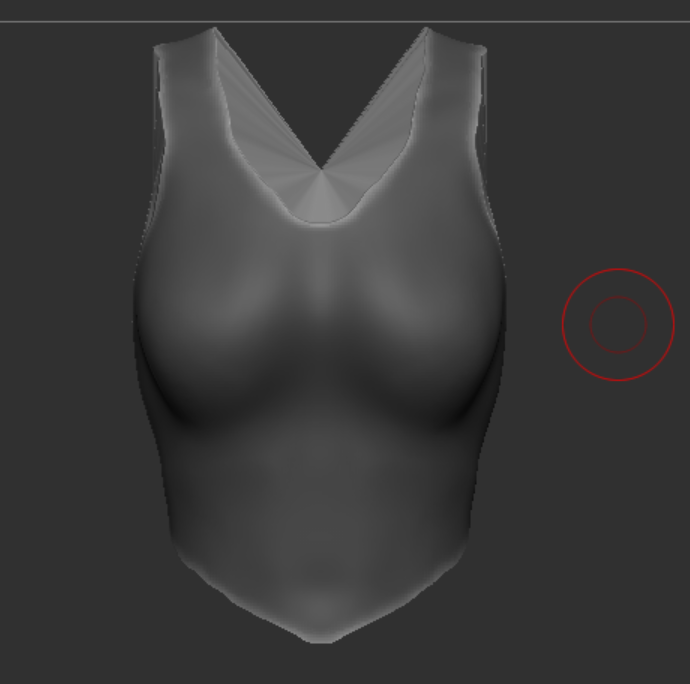
After extracting the top had holes through as I needed to join the edges to make it a full mesh by using Zmodeler and using “Close”.
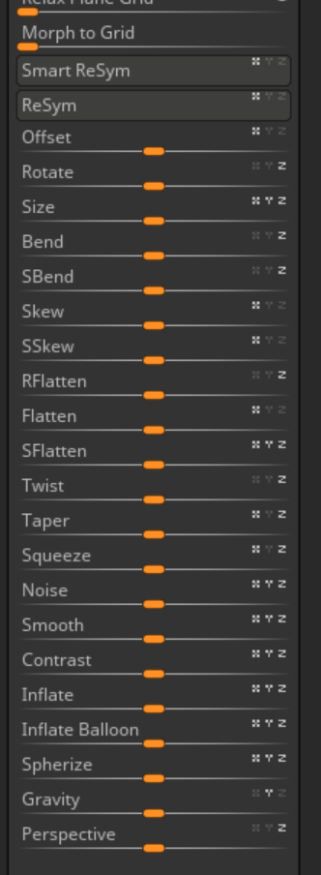
This is the deformation pallette, I didnt really use a lot of these but I did play around with them to see what they did. For the top I ended up only using Inflate and Gravity. The only reason I used gravity was because I wanted to make it seem like it had a bit of weight to it, I didnt add too much but just enough for it to look natural.
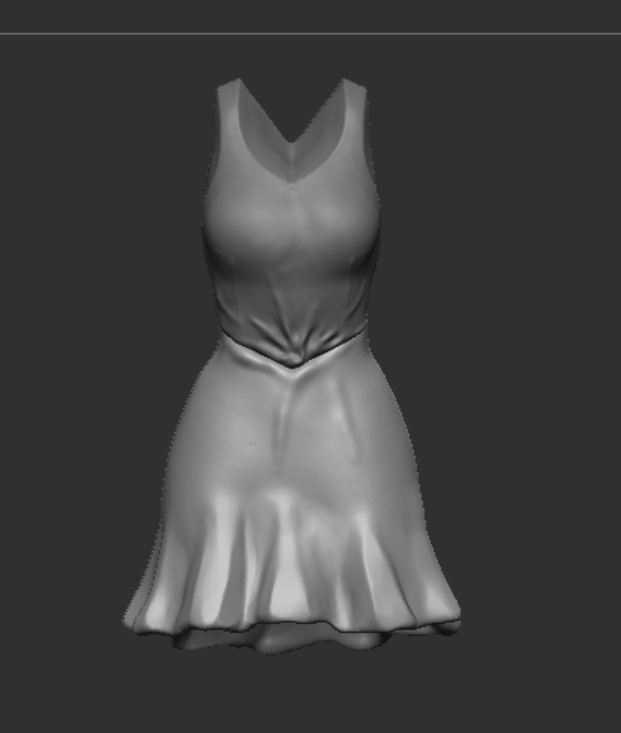
After that I spent a lot of time editing and smoothing out areas like the straps to look smoother.
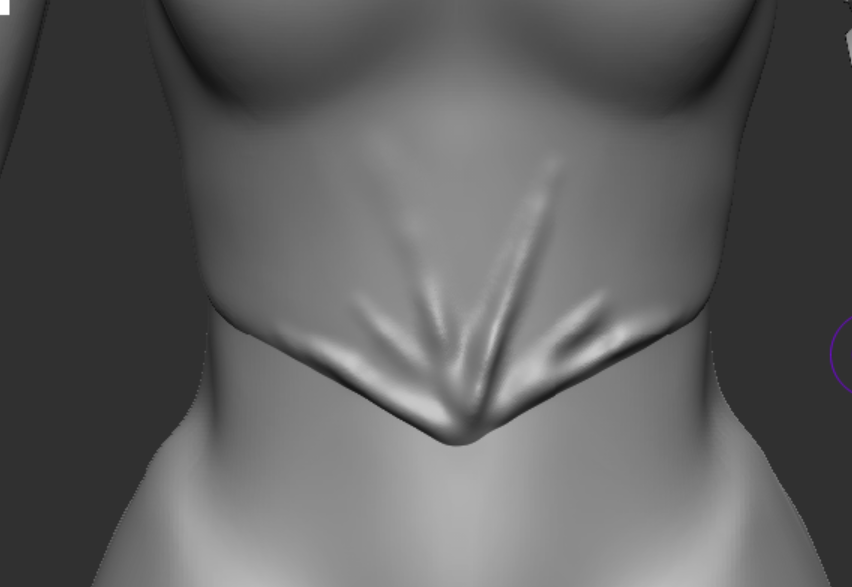
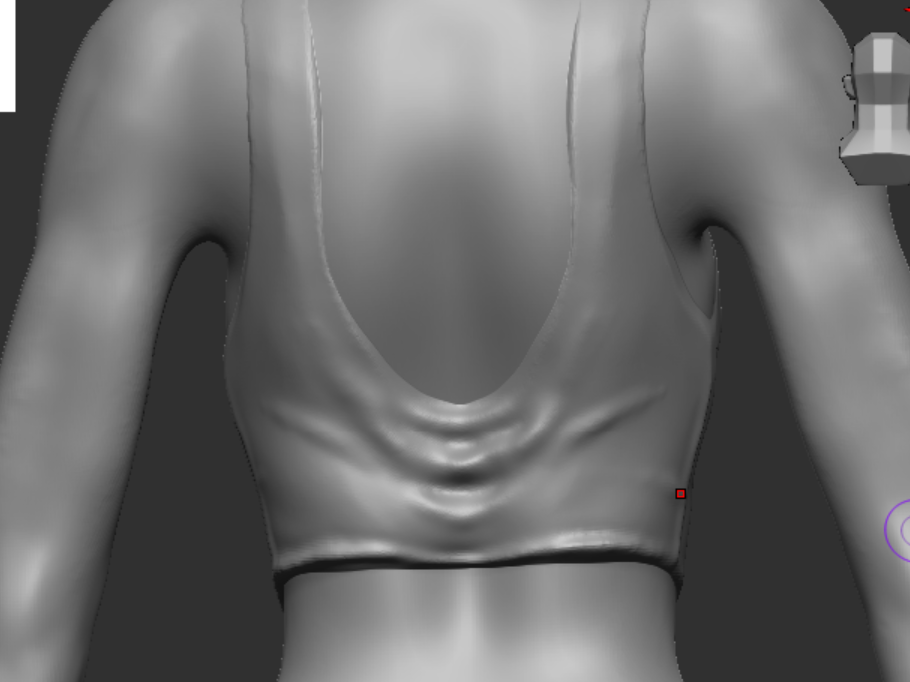
Adding little details like wrinkles I used the standard brush and the move tool to get this effect.
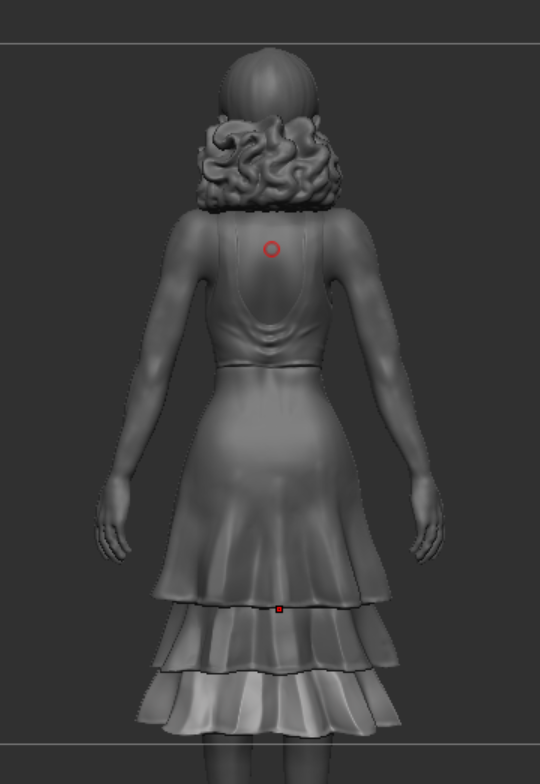
Skirt
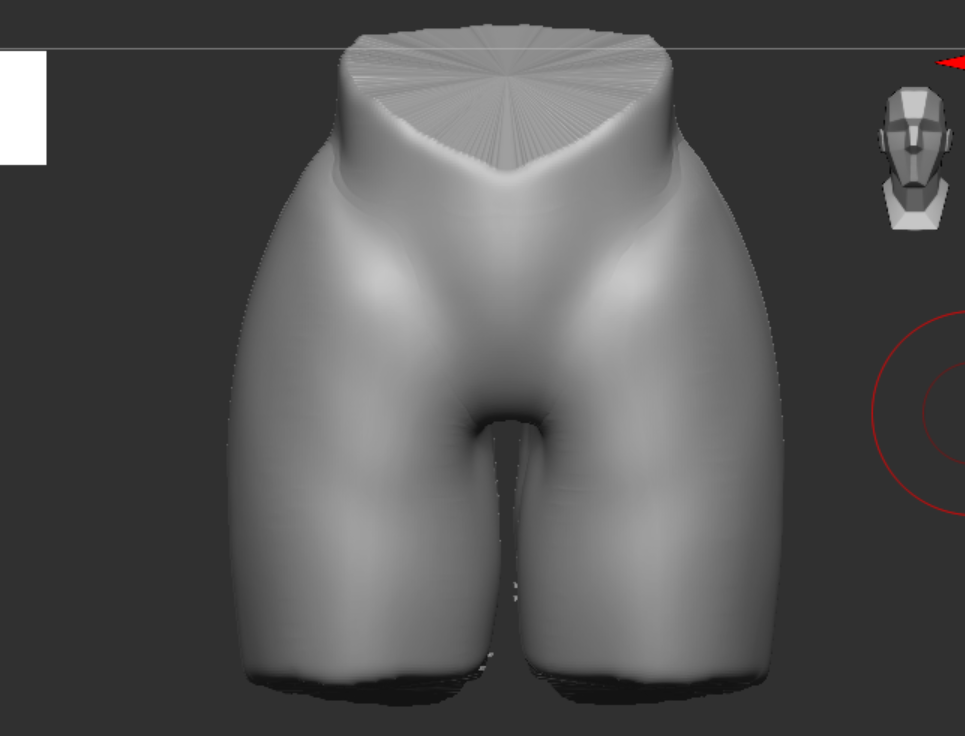
I again used the same process as the top except I had to join the legs together to make it round, this was quite hard as I didnt know how to do it but I ended up using the clay build and Dynameshing till they joint.
After smoothing it out I used “Taper” in the deformation pallette which was perfect for what I needed! I used the bottom and moved parts forward and back to create a ruffle effect.
One problem I found with the skirt was as I had used the dam standard brush to create the illution that the skirt is empty, using and of the brushes to build up the model folded in on itself and created holes from being too thin. I found out how to fix this easily by going into the brush settings and selecting “Backface masking”.
The Hair
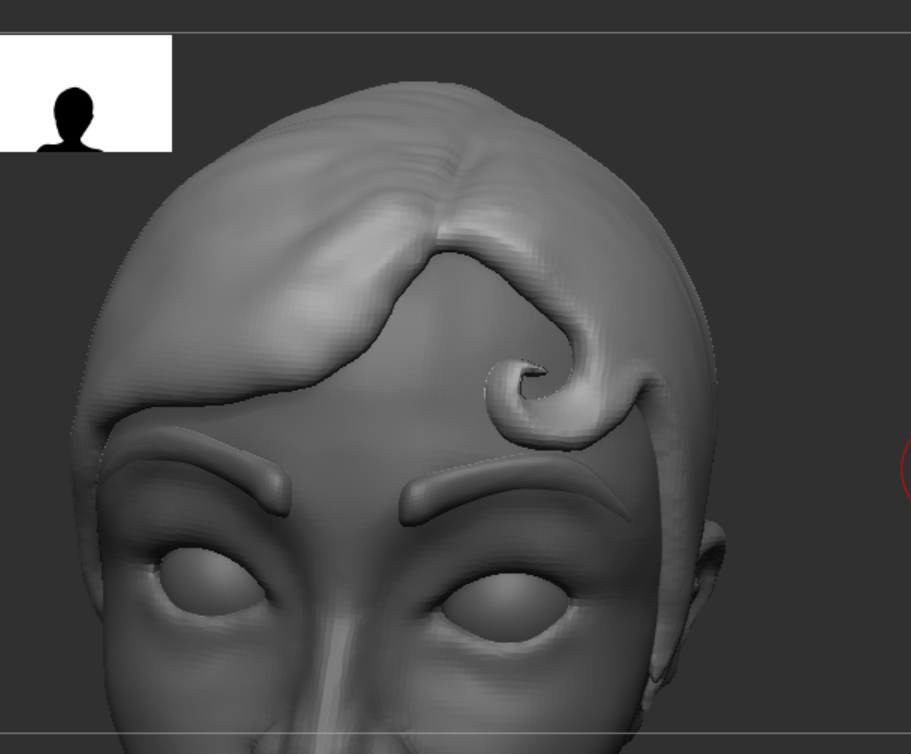
The same process again by masking and extracting, I used the standard brush to add some detail and the move to make the curve in the hair look natural and clean.
The rest of the hair was very interesting to make as I wasnt too sure how to approach modeling curly hair, I found a couple of brushes that I used for some of the more prominent waves as I struggled to get familiar with them, they didn’t work so well after the first few times which may have been because of the obstructions in the hair, so I stuck to adding extra detail with the clay brush.

Shoes
The shoes were a challenge for me as I figured out the feet were sculpted differently, I chose not to fix this as the shoes are the same. I masked out the area I wanted the shoe to be and extracted it.
I Zremeshed it so it had less faces and was easier to work with, and by fixing edges that were jagged. I couldnt close the mesh so I inflated it so it wouldnt be hard to work with and I shaped out the type of shoe I wanted.

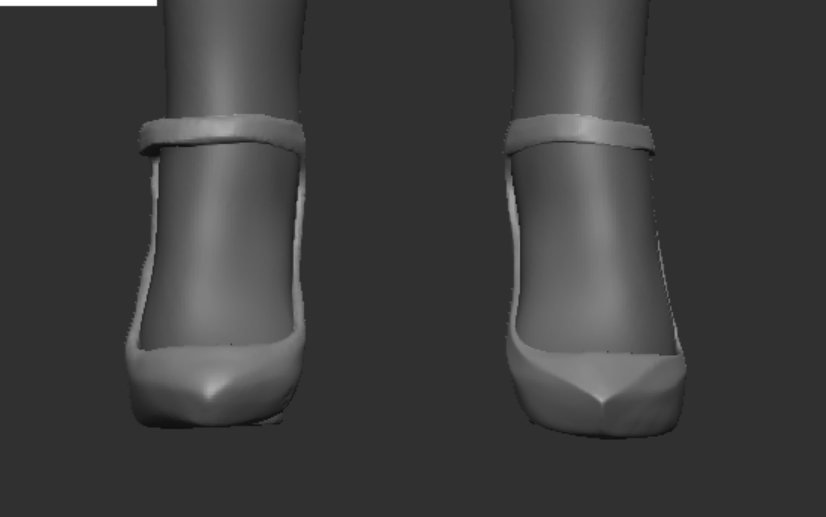
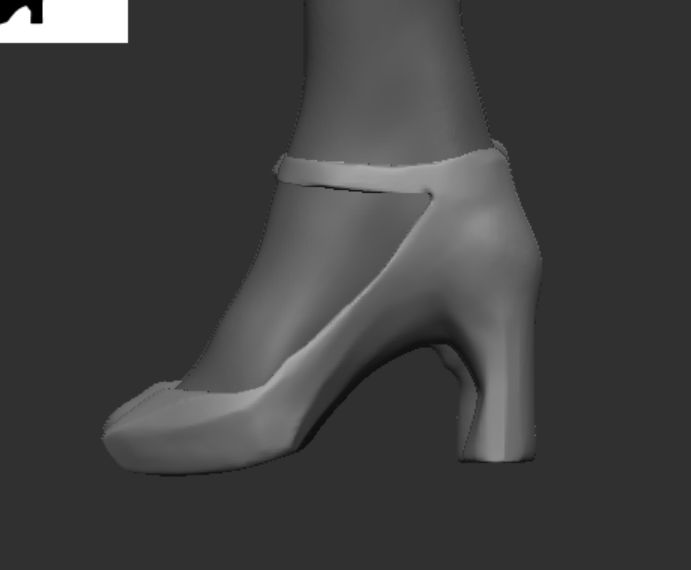
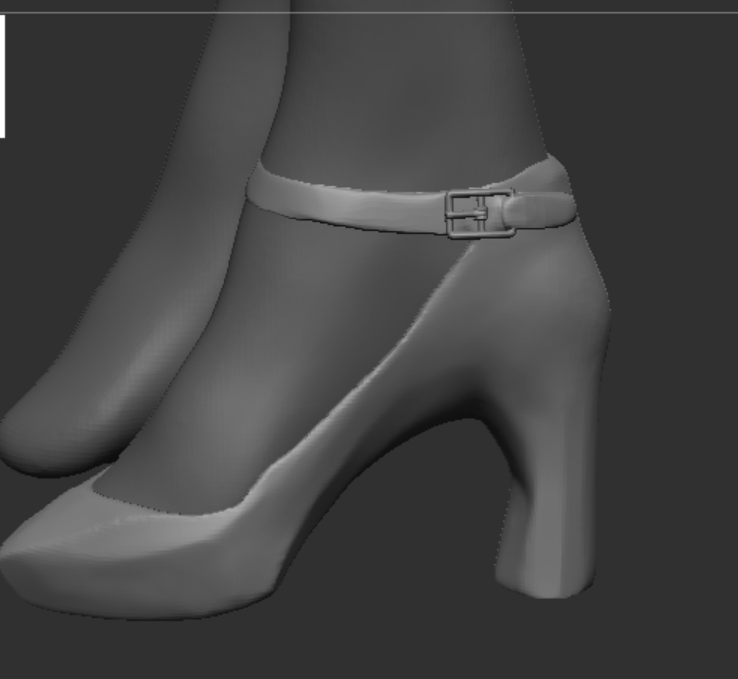
A lot of what made the shoe look better was using the Hard polish brush (BHP Shortcut) which flattened the mesh, I liked the effect it had as it gave it a more polished look. I also decided to add a buckle which I had a look in the parts and clothing tools, I found a few which I added into my design and it added some extra detail which I really liked.
Hair Feathers
I followed a tutorial for the feathers as I really struggled to picture the process of creating a feather without using loads of detail.

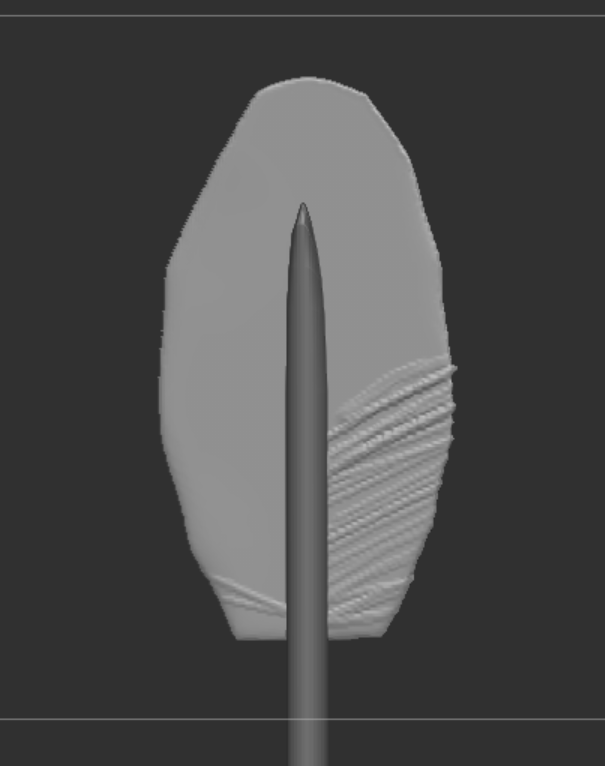

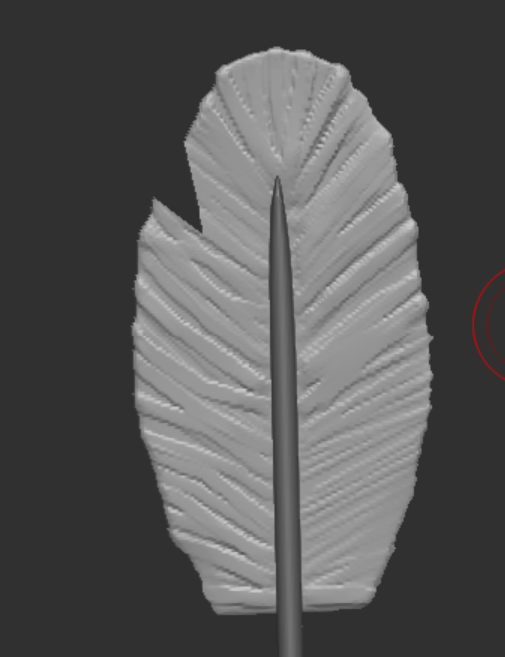
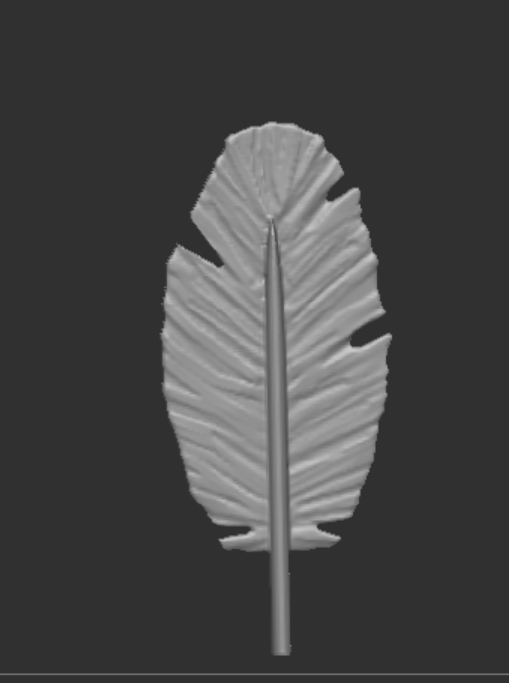
I used a tool in this process which I hadnt used in my model before, which was the “TrimDynamic” as I used this I saw that it flattened the brush strokes I added without removing the detail from the feather. I also used the knife cut tool to get the effect of the feathers splitting, overall the feather had good detail without being too overbearing and they look great at a distance.

The last step was to attach the feathers to the hair piece, I didnt really like how it looked with one feather so I duplicated it and I prefered it, I also bent the feathers to look more natural using the move tool.
Final Model
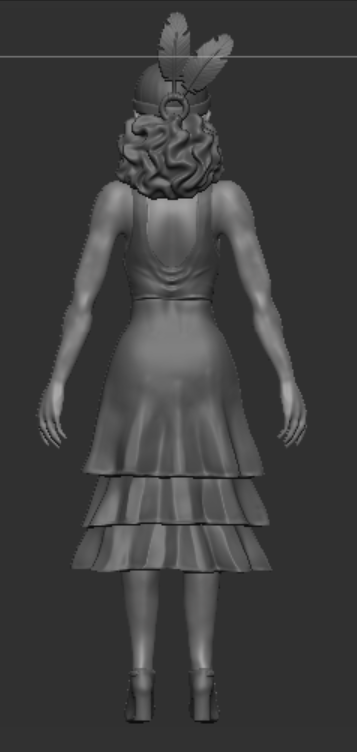

Finally finishing off in Zbrush so I can now get it ready for Maya. Im pretty happy with how the model looks so far, I have had to change a few things within the design as when putting it onto the 3D model it didnt look quite right, the gloves is one of those things I decided to get rid of as I wasnt too happy with how they looked on her. I like all of the clothing details and I’m glad that I did a bit extra at the end with her design and checking it over as I wasnt too sure about whether I would have time to do this but its worked out.
references
Nexttut (2023) Sculpting Feathers in zbrush! support nexus, YouTube. Available at: https://www.youtube.com/watch?v=-3EdsK7Xisg (Accessed: 06 January 2024).
Leave a Reply